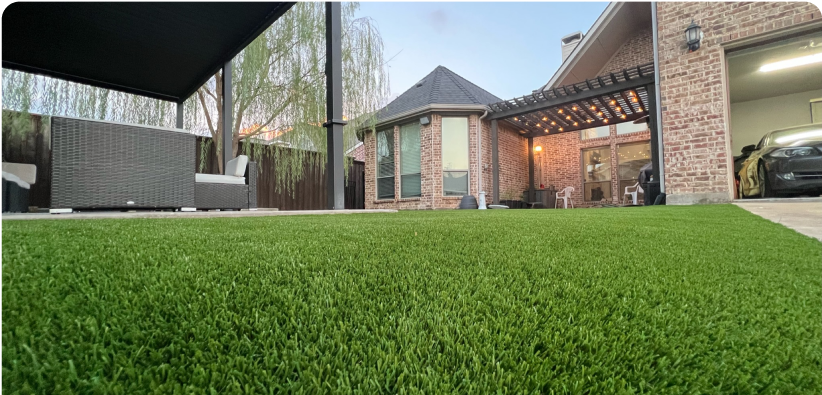
Installing artificial turf yourself can be a cost-effective way to achieve a beautiful, low-maintenance lawn. However, it requires careful planning and execution to ensure lasting results. Here’s a step-by-step guide to help you get started.
1. Plan and Measure Your Area Before purchasing turf, measure your lawn’s dimensions and mark the area for installation. Consider factors like slopes, obstacles, and drainage to ensure proper coverage and functionality.
2. Gather the Necessary Tools and Materials You’ll need:
- Artificial turf
- Weed barrier fabric
- Utility knife
- Landscaping nails or staples
- Turf adhesive or seam tape
- Rake and shovel
- Compactor (manual or mechanical)
- Sand or infill
3. Prepare the Ground
- Clear the area of existing grass, weeds, and debris.
- Level the soil and ensure proper drainage by sloping the surface slightly away from buildings.
- Compact the soil firmly to create a stable base.
- Lay a weed barrier to prevent growth underneath.
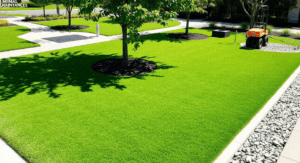
4. Install the Turf
- Roll out the artificial turf and let it acclimate for a few hours.
- Cut edges carefully to fit the area.
- Join seams using adhesive or seam tape for a seamless look.
- Secure the turf with landscaping nails or staples around the perimeter.
5. Add Infill and Final Touches
- Apply sand or rubber infill evenly across the turf.
- Brush the fibers to ensure the infill settles properly.
- Rinse the turf to remove excess infill and ensure a natural look.
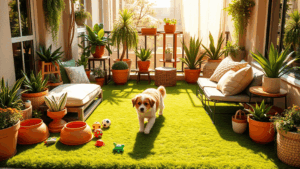
6. Maintenance Tips While artificial turf requires minimal maintenance, regular brushing, rinsing, and debris removal will keep it looking fresh.
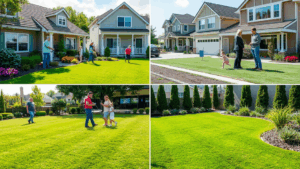
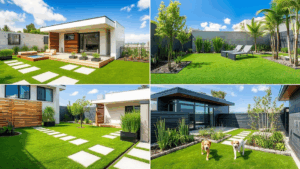
Conclusion DIY artificial turf installation can be a rewarding project if done correctly. With proper planning, tools, and techniques, you can create a lush, durable, and beautiful lawn that requires little maintenance. However, if you’re unsure, hiring a professional might be a wise investment to ensure a flawless finish.